Poor wood shims, they are highly underrated. Sure, they are super useful little things when it comes to hanging doors and windows, but they long to be more than just wedged in a door frame.
Luckily, thanks to some Pinterest inspiration, these 3 packs of shims were given the chance to shine! I picked them up at my local hardware store, each pack of 42 shims was $4.99 and I ended up needing 3 packs. I also grabbed a sheet of 1/4 underlayment at Home Depot for $14.99. This comes in 4’x8′ pieces and I had the kind folks at Home Depot cut it down into 3 pieces for me, each roughly 32″x48″. I also grabbed some wood glue for this project.
Each little shim needed a quick sanding to remove any splintery pieces. This was the perfect job for my youngest two daughters. We didn’t spend a whole lot of time or effort on sanding because I wanted the wood to have a rustic and roughed up look to it.
We set an underlayment piece on our workbench and used a speed square to make sure everything would be aligned properly.
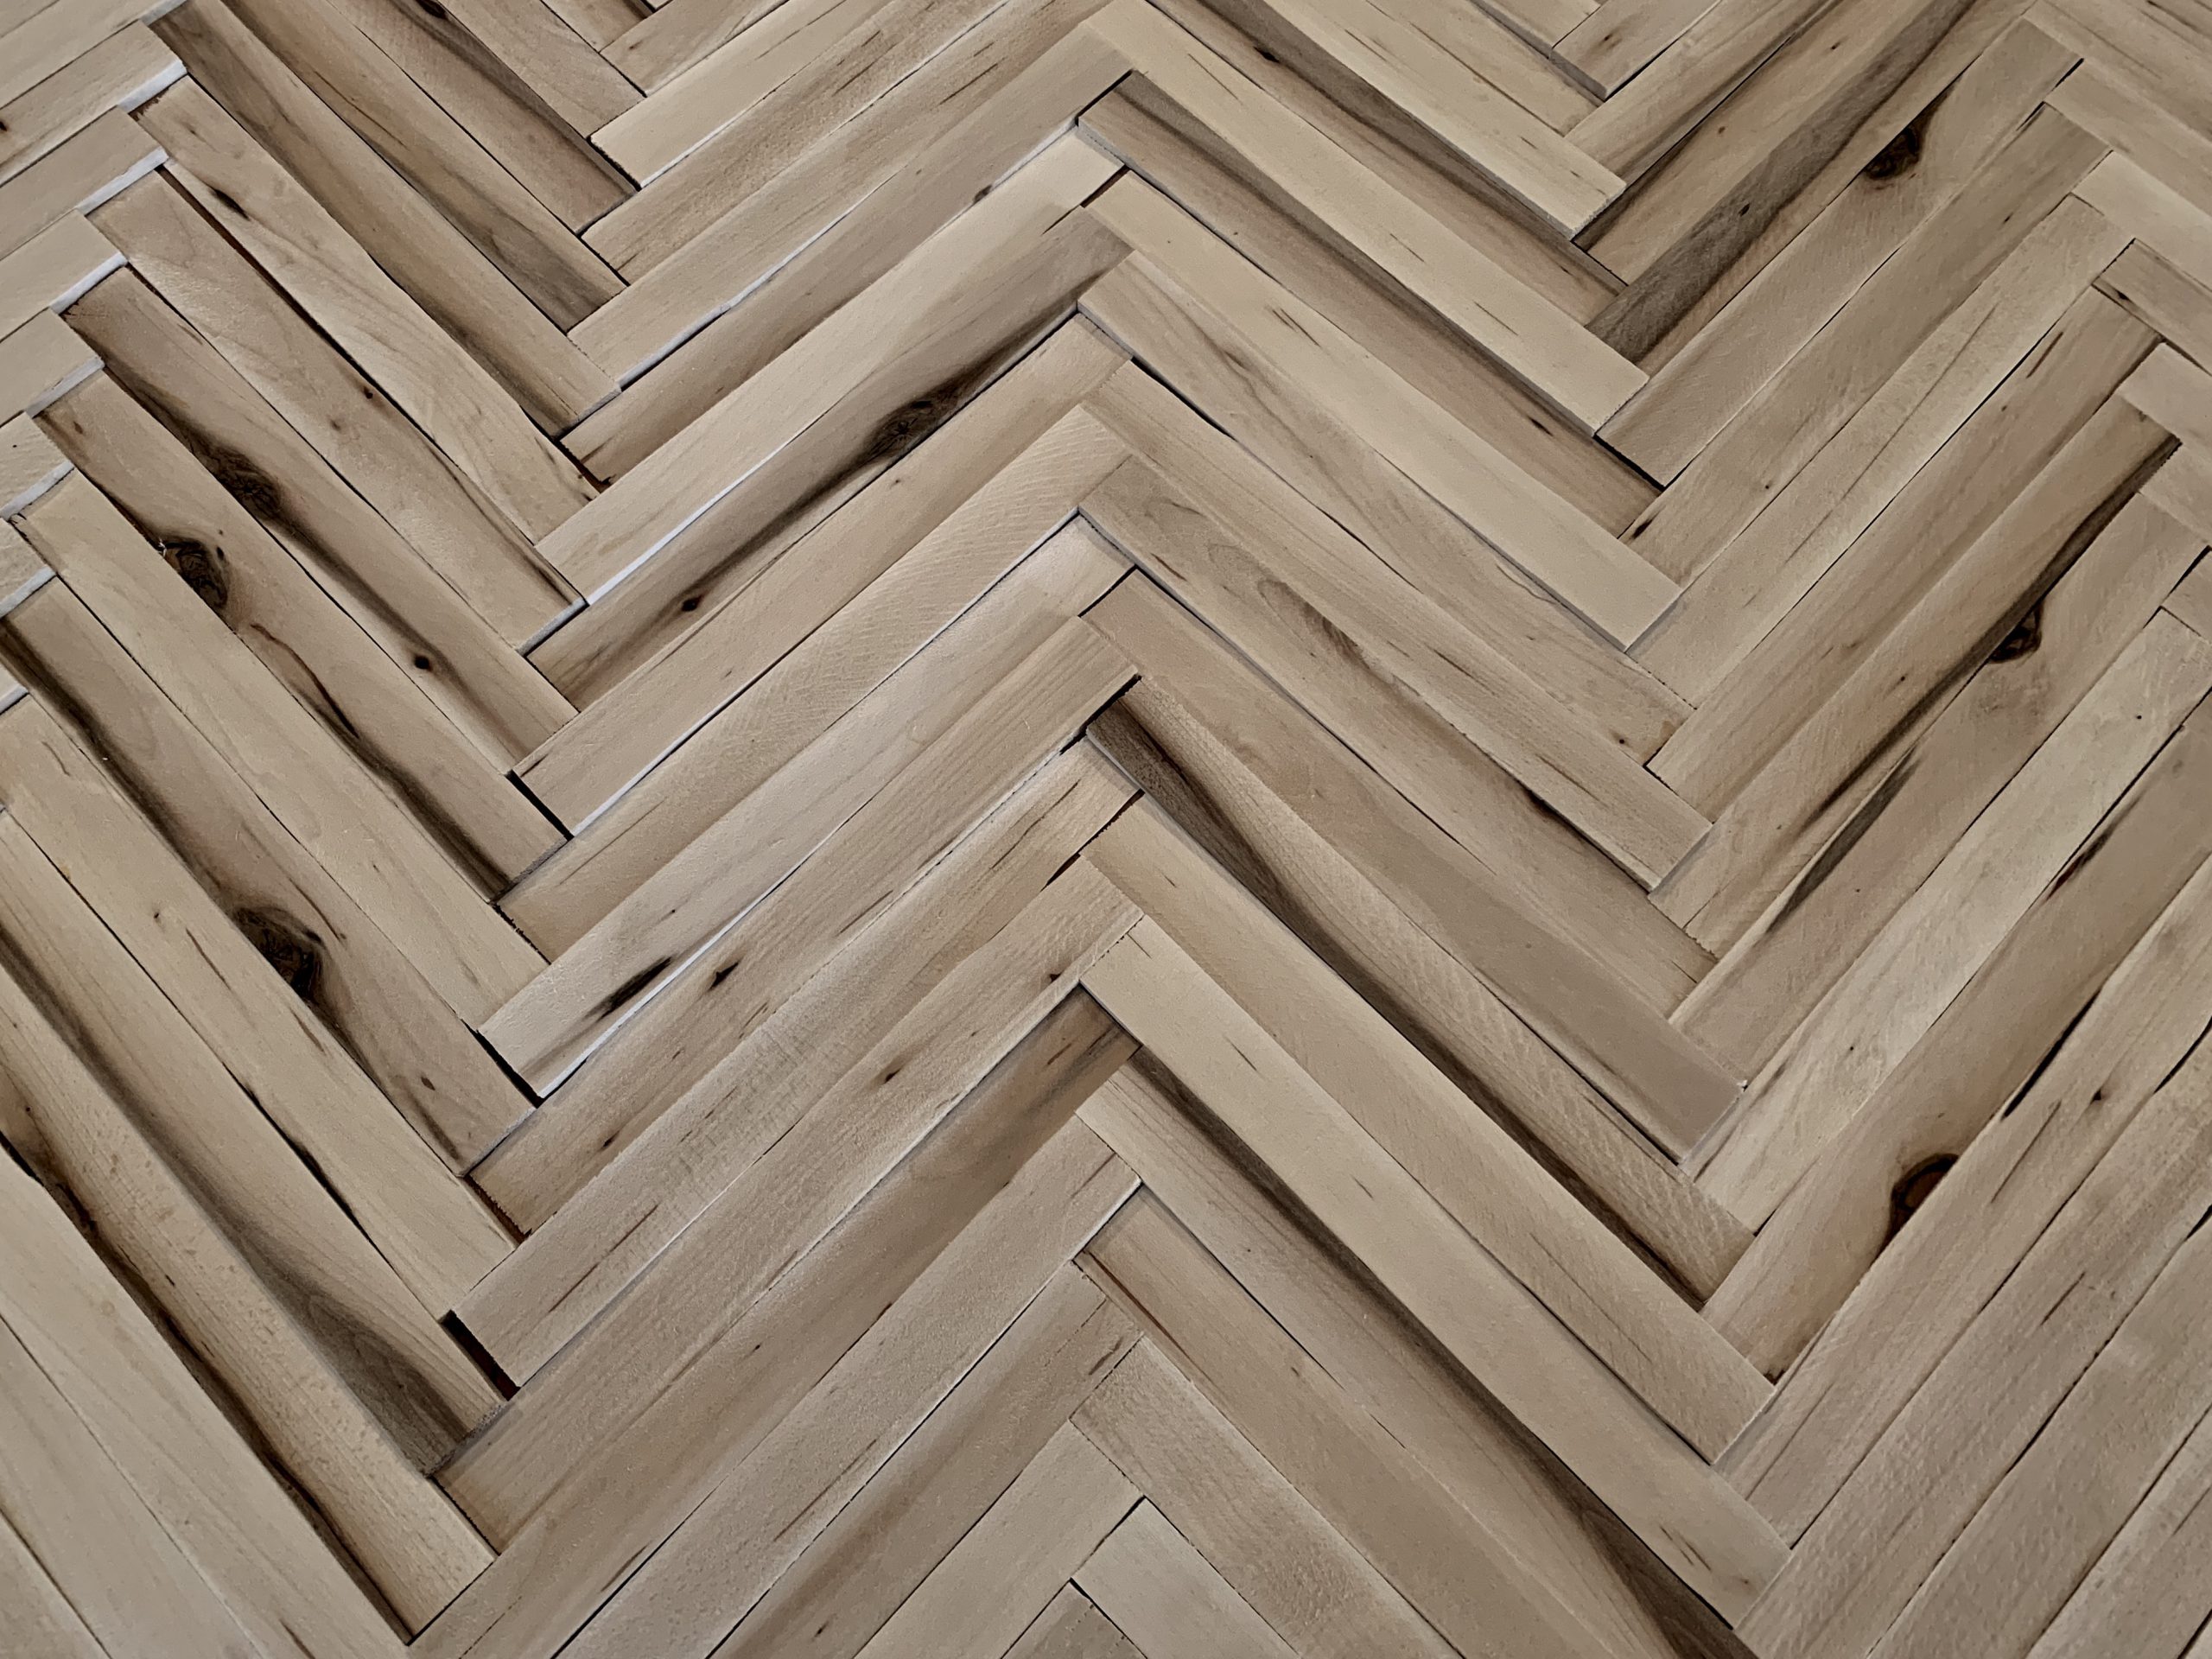
Then one by one we glued down those little shimmy gems in a classic herringbone pattern. Don’t fret over the shims that hang over the edge, we dealt with them later. 
 I am in love with all the textures and colors of the different shims. I briefly thought about staining them in multiple shades, but changed my mind after I saw how gorgeous they looked.
  After we let the wood glue dry overnight, my hubby from the White Lab Workshop, flipped it over and used his Ryobi jigsaw to cut off any overhanging shims.
  And she was ready to go! $15 for wood shims + $5 for underlayment = a three dimensional, edgy, statement wall art piece all for around $20.
Shimmy on over to our YouTube channel, White Lab House, to watch the full video on this project.